Click For Crochet Abbreviations List
So, for work we need:
Yarn of your choice (For my bunny, I used 50% Merino wool, 50% acrylic, 100 grams per 200 m. Color - beige.)
Hook in line with the selected yarn (I have No. 2)
Filler for soft toys
Scissors and needle
4 buttons for attaching legs and handles
Beads for the eyes
Threads for embroidery of a spout
And here is the knitting pattern of the bunny:
Torso (1 piece)
We make a sliding knot and knit 2 VP (air loops).
1 row
6 RLS (columns without crochet) in the second from the hook VP
[6]
2 row
6 П (increase)
[12]
3 row
(1 П, 1 СБН) repeat 6 times
[18]
4 row
(1 П, 2 СБН) repeat 6 times
[24]
5 row
(1 П, 3 СБН) repeat 6 times
[thirty]
6 row
(1 П, 4 СБН) repeat 6 times
[36]
7 - 9 row
36 RLS
[36]
10 row
15 sc, 1 p, 2 sc, 1 p, 2 sc, 1 p, 14 sc
[39]
11 row
39 RLS
[39]
12 row
17 RLS, 1 P, 2 RLS, 1 P, 2 RLS, 1 P, 15 RLS
[42]
13 - 18 row
42 RLS
[42]
19 row
20 sc, 1 y, 4 sc, 1 y, 14 sc
[40]
20 row
40 sc
[40]
21 row
19 RLS, 1 F, 4 RLS, 1 F, 13 RLS
[38]
22 to 24 row
38 RLS
[38]
25 row
19 RLS, 1 F, 4 RLS, 1 F, 11 RLS
[36]
26 - 27 row
36 RLS
[36]
28 row
(1 Y, 10 RLS) repeat 3 times
[33]
29 row
(1 Y, 9 RLS) repeat 3 times
[thirty]
Begin to fill the trunk with filler, continue to add the filler as needed.
30 row
(1 Y, 8 RLS) repeat 3 times
[27]
31 row
(1 Y, 7 RLS) repeat 3 times
[24]
32 row
(1 Y, 2 RLS) repeat 6 times
[18]
27 row
(1 Y, 1 RLS) repeat 6 times
[12]
28 row
6 Y
[6]
Head (1 piece)
We make a sliding knot and knit 2 VP.
1 row
6 RLS in the second from the VP hook
[6]
2 row
6 П
[12]
3 row
(1 П, 1 СБН) repeat 6 times
[18]
4 row
(1 П, 2 СБН) repeat 6 times
[24]
5 row
(1 П, 3 СБН) repeat 6 times
[thirty]
6 row
(1 П, 4 СБН) repeat 6 times
[36]
7 row
(1 П, 5 СБН) repeat 6 times
[42]
8 - 15 row
42 RLS
[42]
16 row
(1 Y, 5 RLS) repeat 6 times
[36]
17 row
(1 Y, 4 sc) repeat 6 times
[thirty]
Begin filling your head with filler, continue to add filler as needed.
18 row
(1 Y, 3 RLS) repeat 6 times
[24]
19 row
(1 Y, 2 RLS) repeat 6 times
[18]
20 row
(1 Y, 1 RLS) repeat 6 times
[12]
21 row
6 Y
[6]
Ears (2 parts)
We make a sliding knot and knit 2 VP.
1 row
6 RLS in the second from the VP hook
[6]
2 row
6 П
[12]
3 row
(1 П, 2 СБН) repeat 4 times
[16]
4 row
(1 П, 3 СБН) repeat 4 times
[20]
5 row
20 RLS
[20]
6 row
(1 П, 4 СБН) repeat 4 times
[24]
7 - 8 row
24 sc
[24]
9 row
(1 Y, 4 RLS) repeat 4 times
[20]
10 row
20 RLS
[20]
11 row
(1 Y, 3 RLS) repeat 4 times
[16]
12 - 13 row
16 RLS
[16]
Tail (1 piece)
We make a sliding knot and knit 2 VP.
1 row
6 RLS in the second from the VP hook
[6]
2 row
6 П
[12]
3 row
(1 П, 1 СБН) repeat 6 times
[18]
4 - 5 row
18 RLS
[18]
6 row
(1 Y, 1 RLS) repeat 6 times
[12]
Hind feet (2 pieces)
We make a sliding knot and knit 2 VP.
1 row
6 RLS in the second from the VP hook
[6]
2 row
6 П
[12]
3 row
(1 П, 1 СБН) repeat 6 times
[18]
4 - 5 row
18 RLS
[18]
6 row
1 П, 7 СБН, 1 У, 8 СБН
[18]
7 - 8 row
18 RLS
[18]
9 row
1 RLS, 1 P, 7 RLS, 1 F, 7 RLS
[18]
10 row
2 RLS, 1 P, 7 RLS, 1 G, 6 RLS
[18]
11 row
18 RLS
[18]
12 row
3 СБН, 1 П, 7 СБН, 1 У, 5 СБН
[18]
13 row
18 RLS
[18]
14 row
4 RLS, 1 P, 7 RLS, 1 F, 4 RLS
[18]
15 row
4 СБН, 1 П, 6 СБН, 2 У, 3 СБН
[17]
16 - 17 row
17 RLS
[17]
18 row
6 RLS, 1 P, 5 RLS, 2 R, 1 RLS
[16]
19 - 20 row
16 RLS
[16]
Begin to fill the presser foot, continue to add filler as needed.
21 row
1 Y, 6 СБН, 1 П, 5 СБН, 1 У
[15]
22 to 24 row
15 RLS
[15]
25 row
(4 sc, 1 y) repeat 3 times
[12]
26 row
6 Y
[6]
Front feet (2 pieces)
We make a sliding knot and knit 2 VP.
1 row
6 RLS in the second from the VP hook
[6]
2 row
6 П
[12]
3 row
(1 П, 2 СБН) repeat 4 times
[16]
4 - 5 row
16 RLS
[16]
6 row
1 П, 6 СБН, 1 У, 7 СБН
[16]
7 row
1 RLS, 1 P, 6 RLS, 1 F, 6 RLS
[16]
8 row
1 RLS, 1 P, 6 RLS, 1 F, 6 RLS
[16]
9 row
2 RLS, 1 P, 6 RLS, 1 F, 5 RLS
[16]
10 row
2 RLS, 1 P, 6 RLS, 1 F, 5 RLS
[16]
11 row
3 СБН, 1 П, 6 СБН, 1 У, 4 СБН
[16]
12 row
4 RLS, 1 P, 6 RLS, 1 R, 3 RLS
[16]
13 row
4 RLS, 1 P, 6 RLS, 1 R, 3 RLS
[16]
14 row
5 RLS, 1 P, 7 RLS, 1 G, 2 RLS
[16]
15 row
6 СБН, 1 П, 6 СБН, 1 У, 1 СБН
[16]
16 row
6 СБН, 1 П, 6 СБН, 1 У, 1 СБН
[16]
17 - 18 row
7 СБН, 1 П, 6 СБН, 1 У
[16]
19 row
16 RLS
[16]
20 - 21 row
1 Y, 7 СБН, 1 П, 6 СБН
[16]
Begin to fill the presser foot, continue to add filler as needed.
22 row
(2 sc, 1 y) repeat 4 times
[12]
23 row
6 Y
[6]
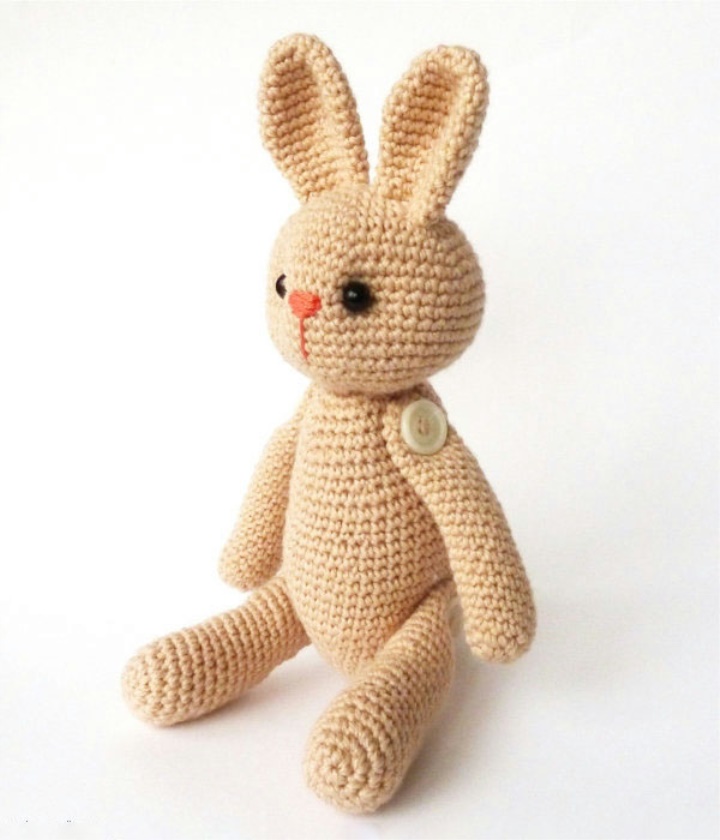
Assembly
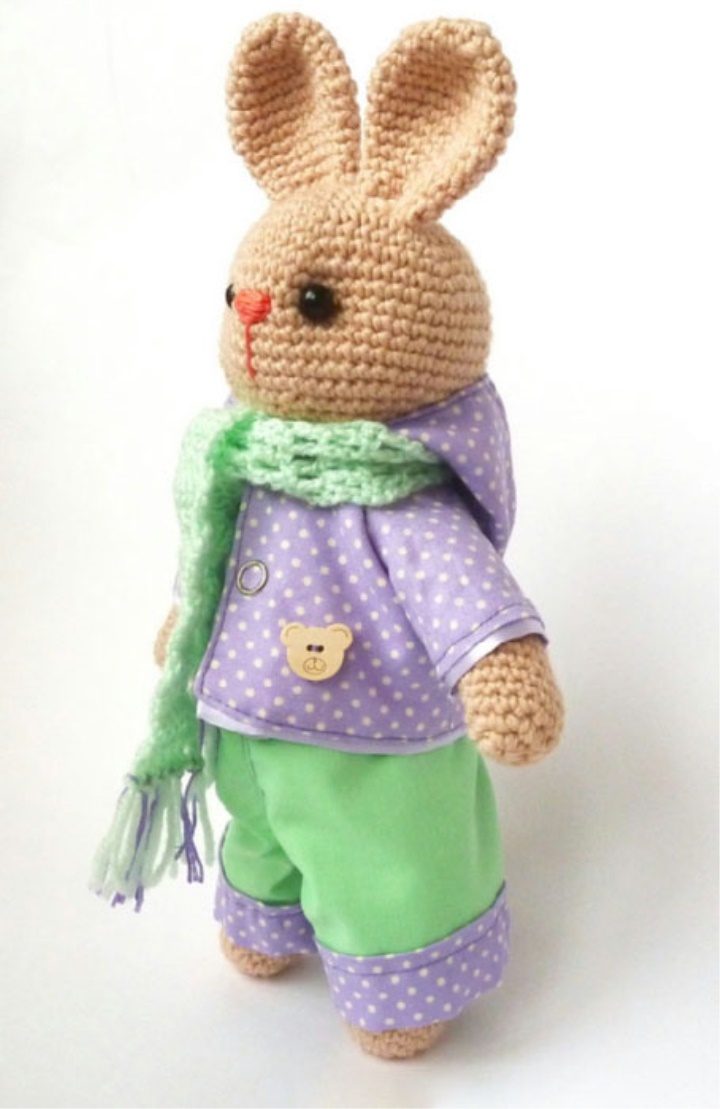
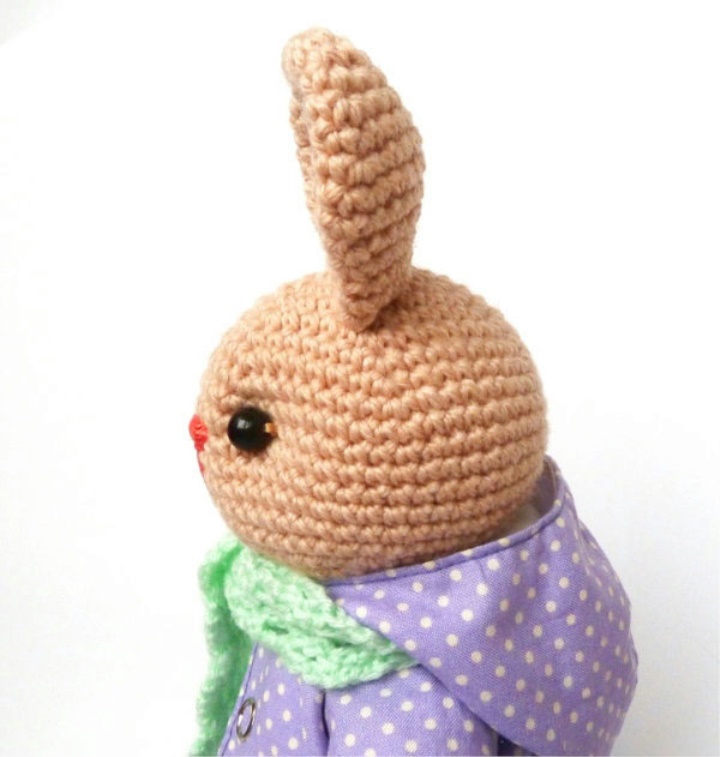
After all the parts are ready, sew the ears to the head, and head to the trunk. The tail is also sewn to the body, we try to make it symmetrical. Using buttons and a long needle, sew the legs to the body. It remains only to sew eyes and embroider a nose. For the eyes, I used large beads, about 8 mm in diameter. For the spout of the string "Iris". Well, that's it, the bunny is ready! Clothes and accessories at your discretion.
Knit with pleasure!

Source : https://www.liveinternet.ru/users/vlada_22/post332521397/