1 Yarn - the cheapest acrylic yarn "kislovodskaya", is sold usually in the markets in packages of 10 pieces, without any identification marks.
2 Hook - I usually crochet 2,5, but the coils come across different in thickness, so choose a hook depending on the thickness of the yarn in your hoe.
3 Half-beads or ready-made eyes.
5 Glue.
6 Any filler.
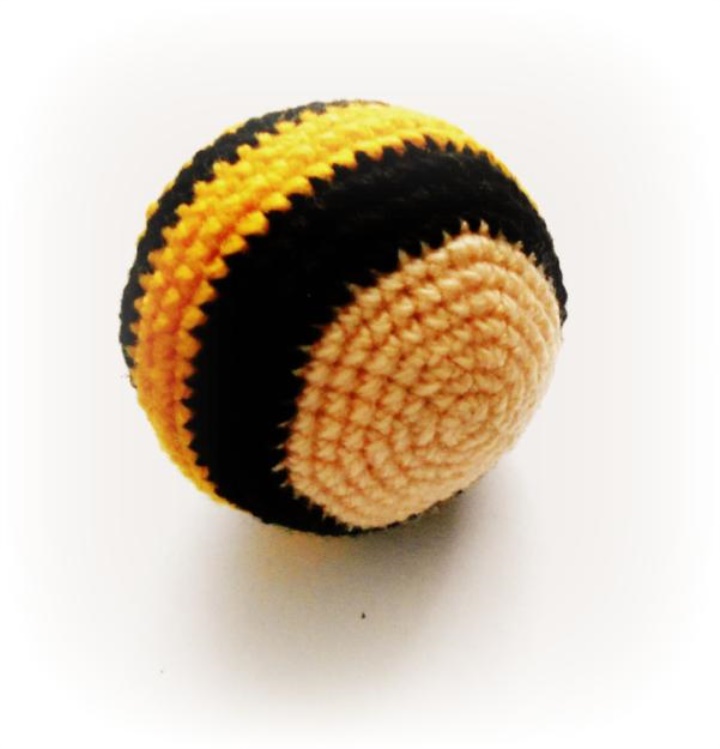
Carcase and legs.
Knit one detail.
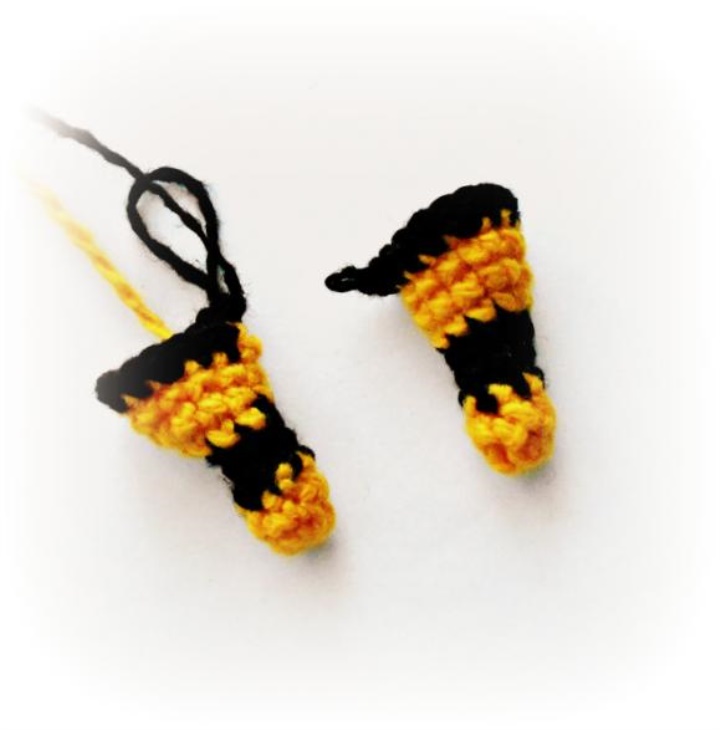
The first leg.
6sbn in the ring amigurumi
1 row 6sbn
Change the thread, then change the thread every 3 rows.
2 the series 1сбн, 1п, 4сбн = 7
3 row 2 сбн, In, 4 сбн = 8
4 row 3 сбн, In, 4 сбн = 9
5 row 4сбн, In, 4 сбн = 10
6 row of 5sbn, 1n, 4sbn = 11
7 row 6 сбн, In, 4 сбн = 12
8 row (3sbn, 1n) * 3 = 15
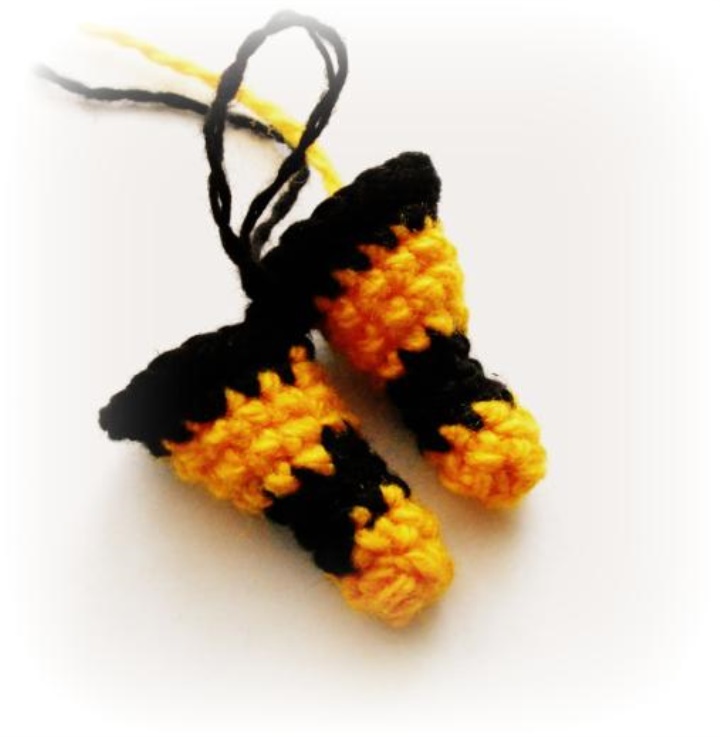
Echoing the leg.
6sbn in the ring amigurumi
1 row 6sbn
Change the thread, then change the thread every 3 rows.
2 the series 1сбн, 1п, 4сбн = 7
3 row 2 сбн, In, 4 сбн = 8
4 row 3 сбн, In, 4 сбн = 9
5 row 4сбн, In, 4 сбн = 10
6 row of 5sbn, 1n, 4sbn = 11
7 row 6 сбн, In, 4 сбн = 12
8 row (3sbn, 1n) * 3 = 15
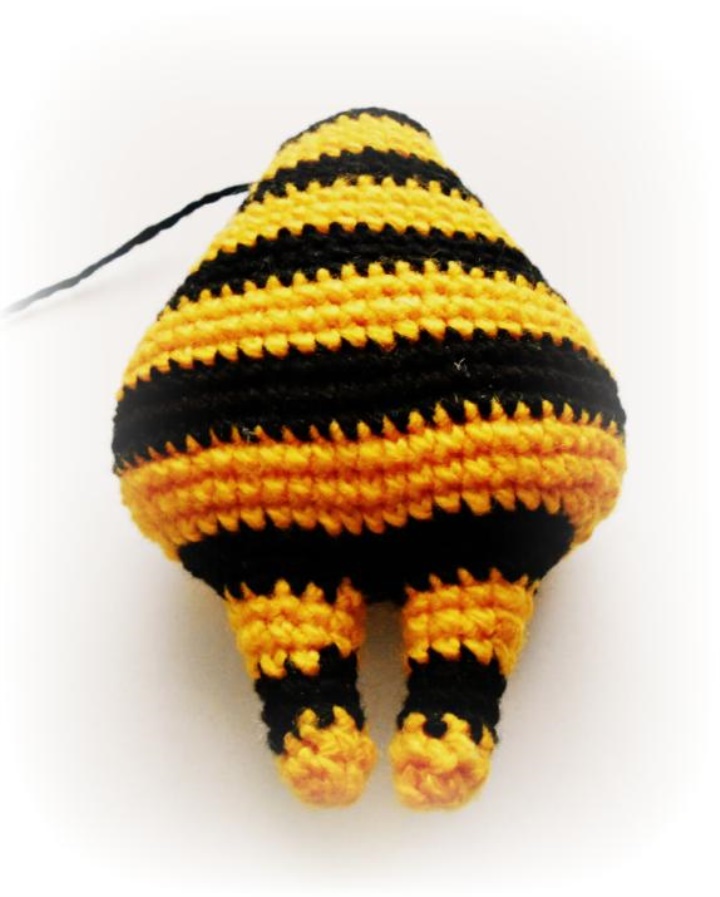
Begin to tie the carcass, for this symmetrically substitute the first leg to the second.
9 row 6sbn, 3n, 6sbn (on the first leg), 6sbn, 3p, 6sbn (on the second leg) = 36
10 row 7сбн, 3п, 16сбн, 3п, 7сбн = 42
11 rows of 9sbn, 3n, 18sbn, 3p, 9sbn = 48
12 the row 11 сбн, 3п, 20сбн, 3п, 11сбн = 54
13-15 a row of 54sbn
16 row 13cb, 1y, 24cb, 1y, 13cb = 52
17 the row 12 сбн, 1у, 24 сбн, 1у, 12сбн = 50
18 the row 12сбн, 1у, 22сбн, 1у, 12сбн = 48
19 the row 11сбн, 1у, 22сбн, 1у, 11сбн = 46
20 the row 11сбн, 1у, 20сбн, 1у, 11сбн = 44
21 the row 10 сбн, 1у, 20сбн, 1у, 10сбн = 42
22 the row 10 сбн, 1у, 18сбн, 1у, 10сбн = 40
23 the row 9 сбн, 1у, 18сбн, 1у, 9сбн = 38
24 row 9 сбн, 1у, 16сбн, 1у, 9сбн = 36
25 the row 8 сбн, 1у, 16сбн, 1у, 8сбн = 34
26 the row 8 сбн, 1у, 14сбн, 1у, 8сбн = 32
27 the row 7сбн, 1у, 14сбн, 1у, 7сбн = 30
28 the row 7 сбн, 1у, 12сбн, 1у, 7сбн = 28
29 row 6 сбн, 1у, 12сбн, 1у, 6сбн = 26
30 row 6 сбн, 1у, 10сбн, 1у, 6сбн = 24
31 series of 5bn, 1y, 10cb, 1y, 5bn = 22
32 row 22 сбн
We fix and cut off the thread, leaving a long tip for stapling the parts.
Densely stuff the part.
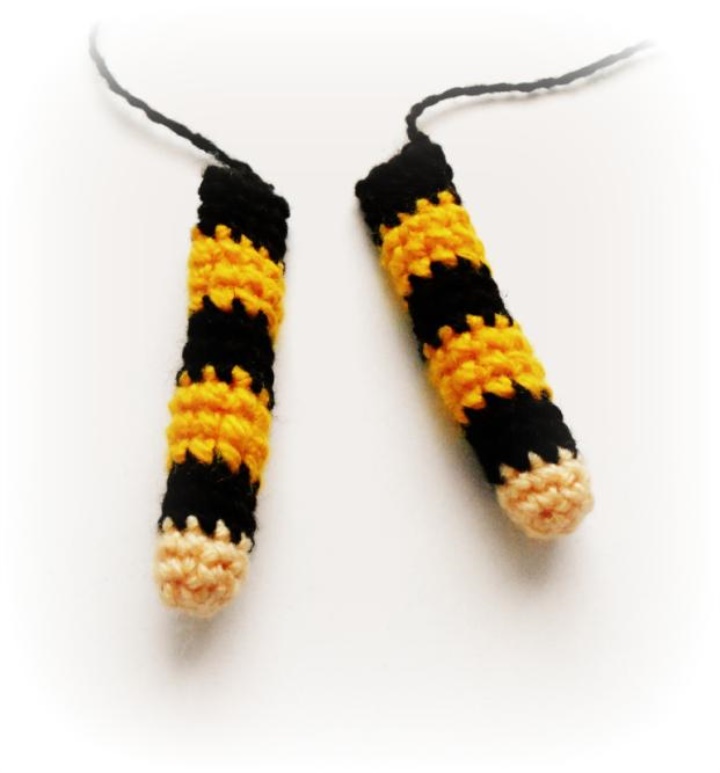
Handles (2pcs).
We change the thread every three rows.
6sbn in the ring amigurumi
1 row (1сбн, In) * 3 = 9
2-17 row 9sbn (16 rows)
18 row Do not tightly stuff the part, fold it in half and bind it for both sides 4sb.
We fix and cut off the thread, leaving a long tip for stapling the parts.
Head.
We begin to knit a thread for the face.
6sbn in the ring amigurumi
1 row 6n = 12
2 row (1сбн, In) * 6 = 18
3 row (2сбн, In) * 6 = 24
4 row (3сбн, In) * 6 = 30
5 row (4sbn, 1n) * 6 = 36
6 row (5сбн, In) * 6 = 42
Change the thread, and then change the thread every 3 rows.
7 the row (5сбн, In) * 7 = 49
8 row (6sbn, In) * 7 = 56
9-13 row 56sbn (5 rows)
14 the row (6сбн, 1у) * 7 = 49
15th row 49
16 series (5cb, 1y) * 7 = 42
17 row (5bn, 1y) * 6 = 36
18 row (4сбн, 1у) * 6 = 30
19 row (3sbn, 1y) * 6 = 24
20 row (2сбн, 1у) * 6 = 18
21 series (1сбн, 1у) * 6 = 12
22 the row 6y = 6
Pull off the hole, secure the tear and hide the thread.

Collar.
It is knit by turning rows, at the end of each row we sew a column of lifting.
We type a chain of 22 air loops
We start knitting in the second from the hook loop 21sbn
2 rows of 4sb in each loop = 84
3-4 row 84sbn
We fix and cut off the thread, leaving a long tip for stitching the part.
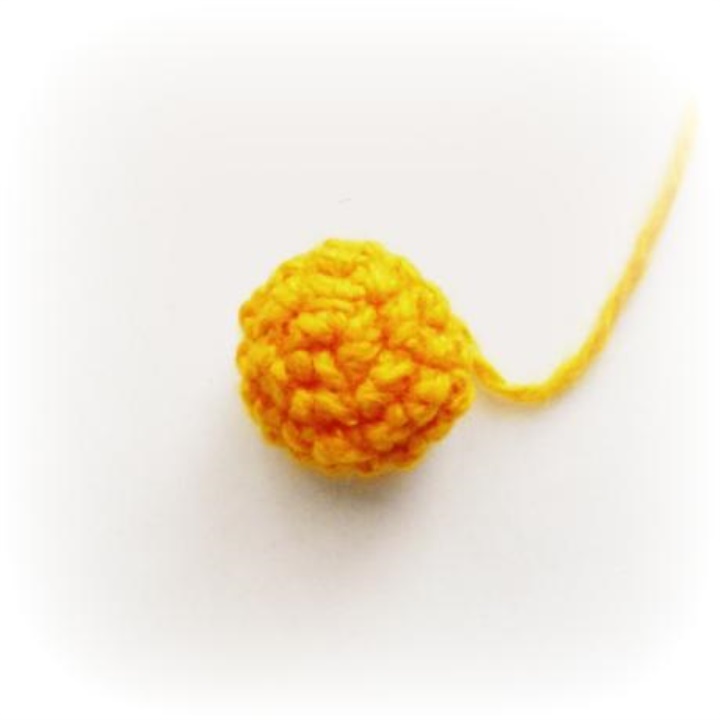
Spout.
6sbn in the ring amigurumi
1 row 6n = 12
2 row (1сбн, In) * 6 = 18
4 row 18sbn
5 the row 9y = 9
We fix and cut off the thread, leaving a long tip for stapling the parts.
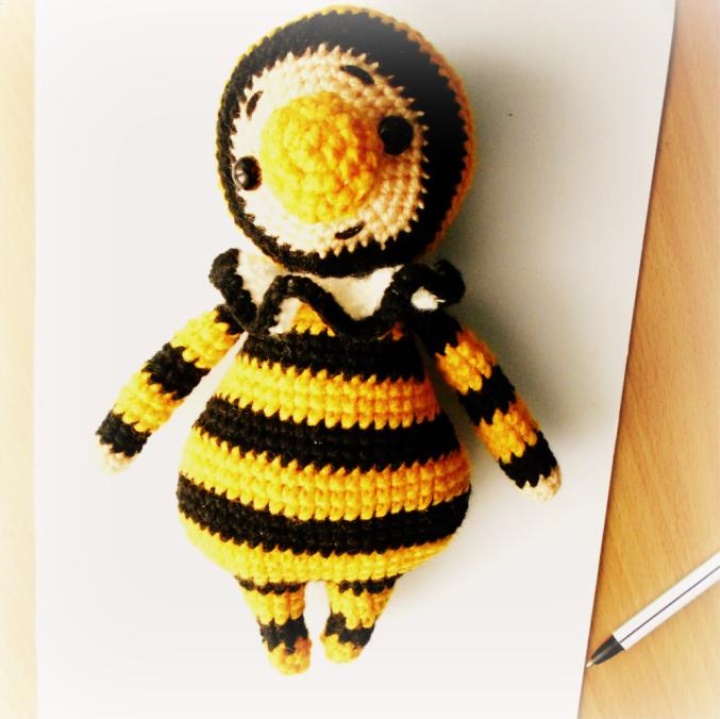
Assembling and design of the basis.
Sew our head. Sew the handle by stepping back from the head 2 round. We put on the collar and sew the sides of it, turn the seam backwards and fix it on the neck with a pair of stitches so that it does not rotate. Sew a spout exactly in the center of the face. We take a black thread, we embroider the crooks and mouth, grabbing two fingers, as in the photo. We glue or sew the eyes at the level of the spout (exactly in the middle of the face).
The base is ready, then you need to decide on the way: ears, tails, wings, horns, now everything depends only on the flight of your imagination.