Many of us liked this cartoon from childhood. And they know him not only adults
uncles and aunts who were fortunate enough to watch it in "Good night kids", but also
the younger generation of children.
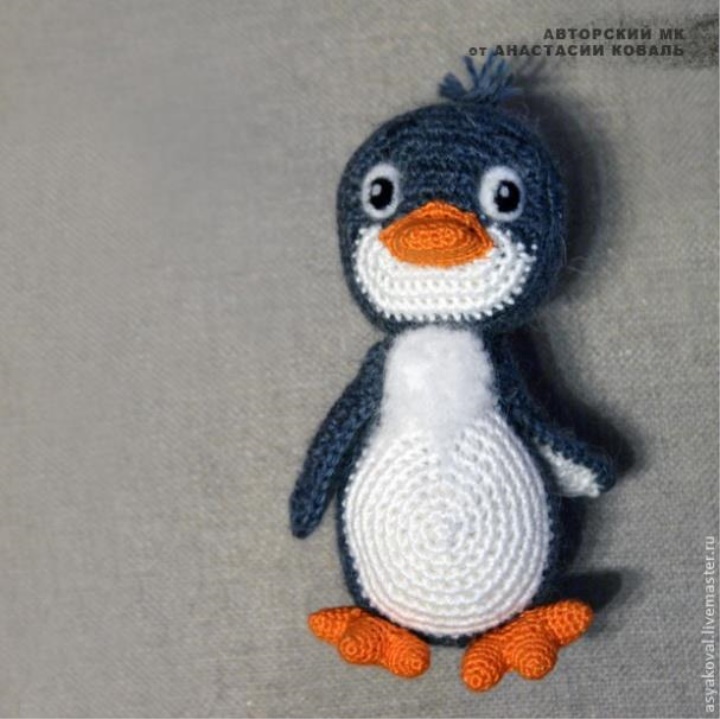
I am often asked to link these wonderful penguins. Such brave, sweet and
touching. And so I decided to make a MK about them, so that everyone who knits a little
crochet was able to give his children or even himself-beloved of these glorious characters.
Both penguins are knitted in the same pattern. I will show you the example of Lolo :-)
blue.
- Iris is orange and a little pink.
- Hooks: 1mm, 2mm thick.
- Sintepon stuffing.
- Puff.
- Wool for felting - black and white, needles for felting working and finishing, sponge or
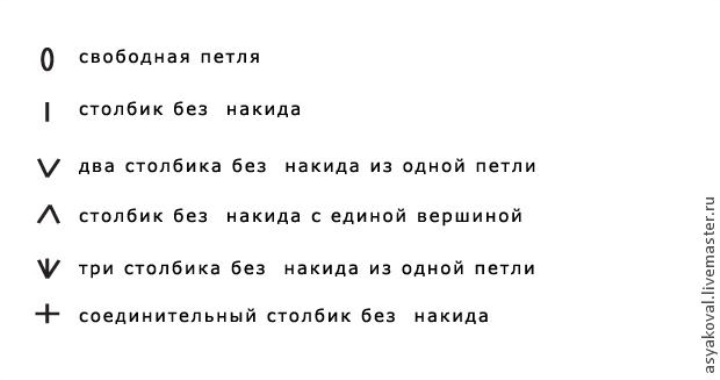
free loop = air loop.
We begin with the head.
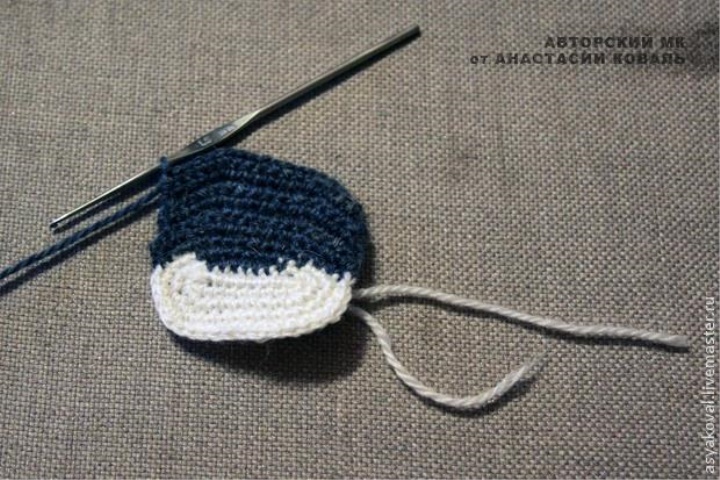
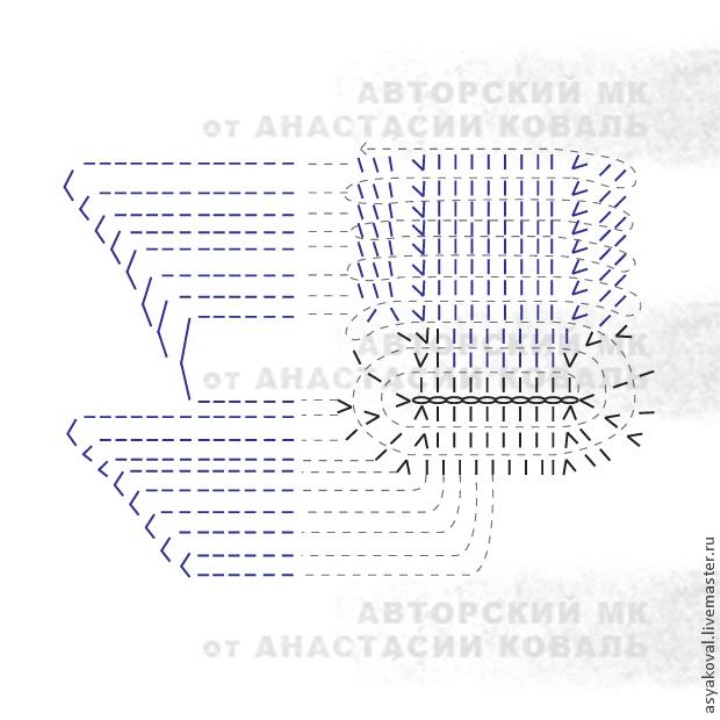
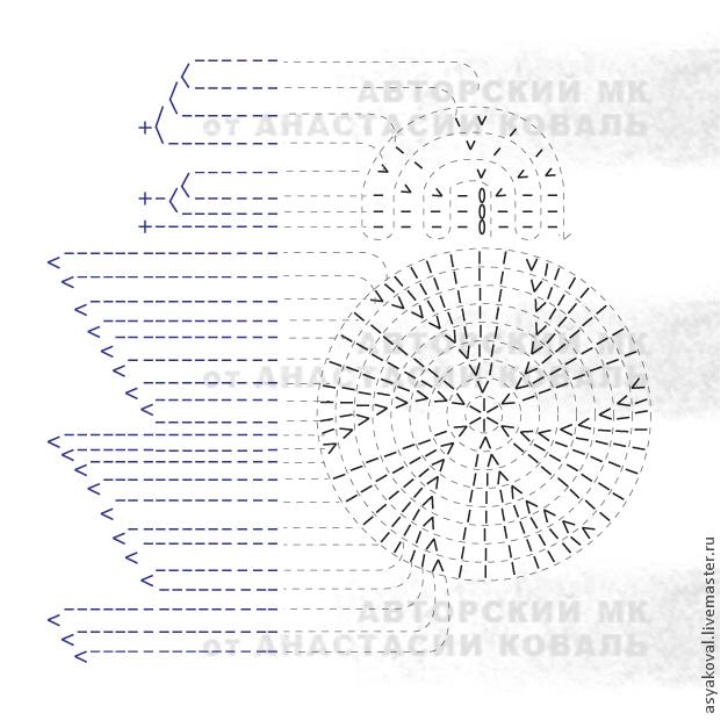
We knit the front part - where the face is according to the scheme, turning to the head itself
attention that the diagram shows only a part, because here the adjustments are made
symmetrically. All the details are knitted in a circle! Black shows the loops that we knit
white, blue, those are shown that we knit blue.
Scheme of head:
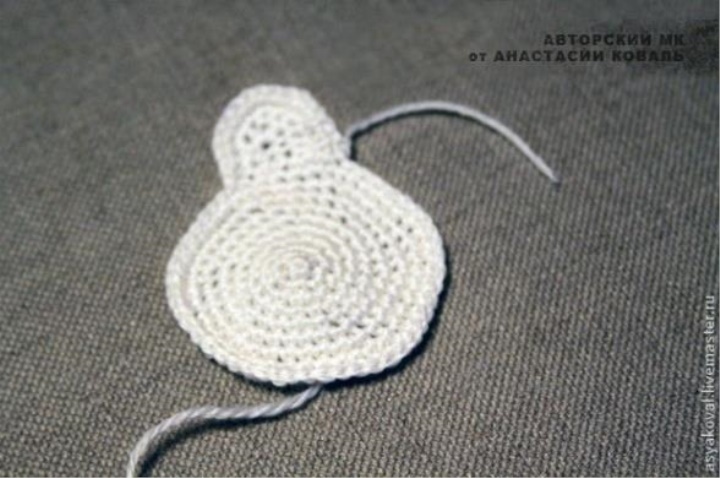
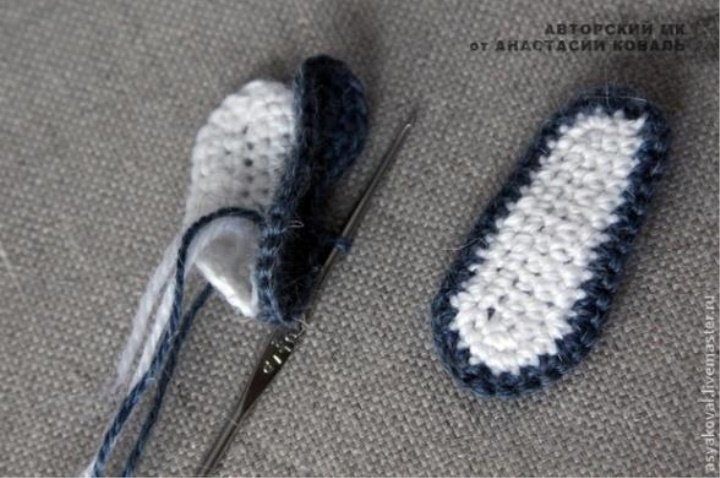
That's what we should get.

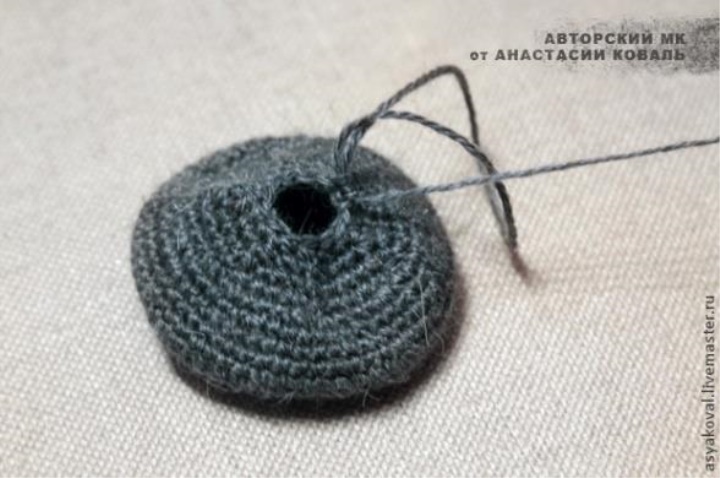
Without completing the head for two rows, we perform the stuffing. And we continue to knit according to the scheme before
full closure of the hole.
The body begins to knit from the abdomen, then tie the breast.
Knitting pattern of the body:
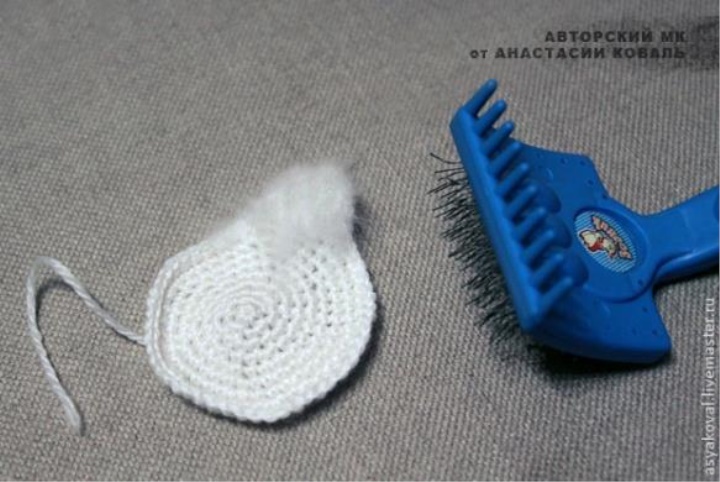
Well, we begin to breast until the maximum fluffiness.
Pay attention to the diagram, on the back from above there are 3 connecting bars!
After them, close the circle around the lower back ;-)
After the body, we take up the wings and tail.
On the diagram: 1. tail; 2. Wings.
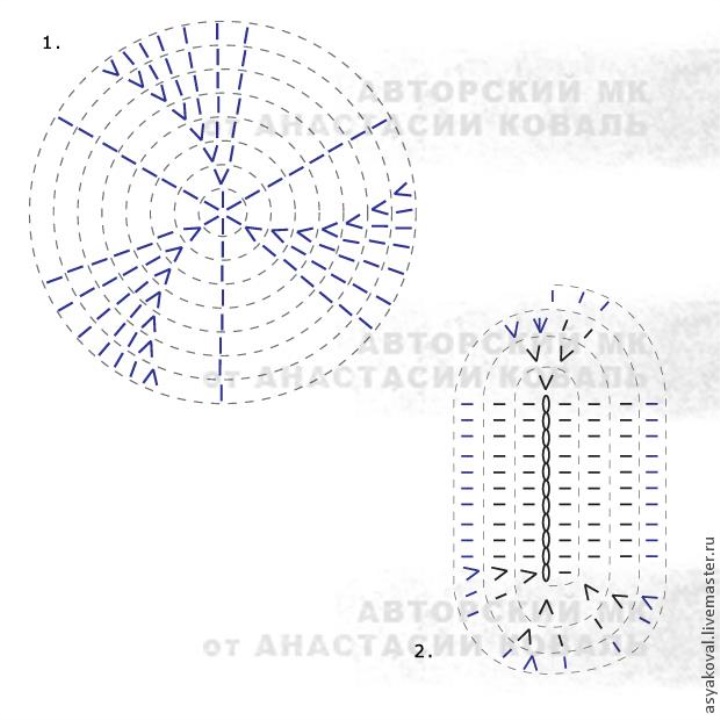
The tail is tied strictly according to the scheme. Wings consist of 4 parts, first we knit white
parts, those that will be inside, according to the scheme only black loops. Then exactly the same
blue detail. And then, we begin to tie the white part to the blue around the circle using
part of the scheme painted in blue (I hope it's clear, if you do not understand)!
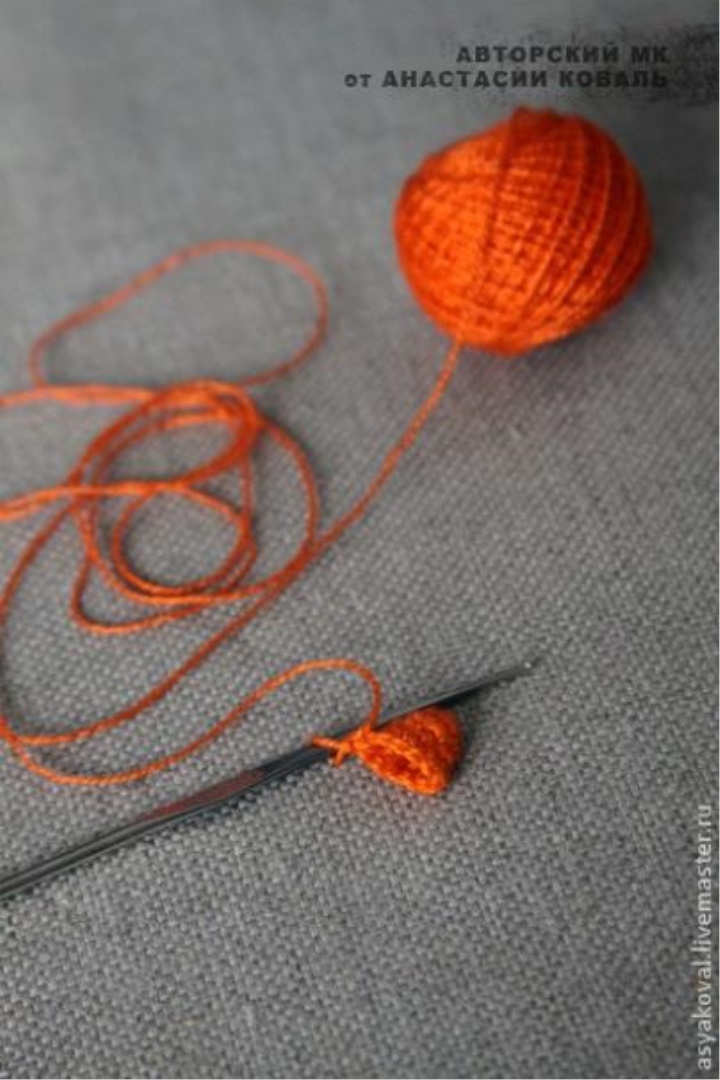
It's time for Iris.
Here it is very important to use a thread in 3 (!) Times thinner than those threads from which we
knit body, head, etc. Otherwise, we will not meet the proportions and
The oases with the beak will come out huge. If you do not have Iris and take him nowhere, it's better
will cut these details out of pieces of dense felt or sew from a suitable
material, as a last resort to knit excluding one series of increases from the scheme.
On the diagram:
1. The finger;
2. Scheme of loops in the paw after joining the fingers;
3. Beak.
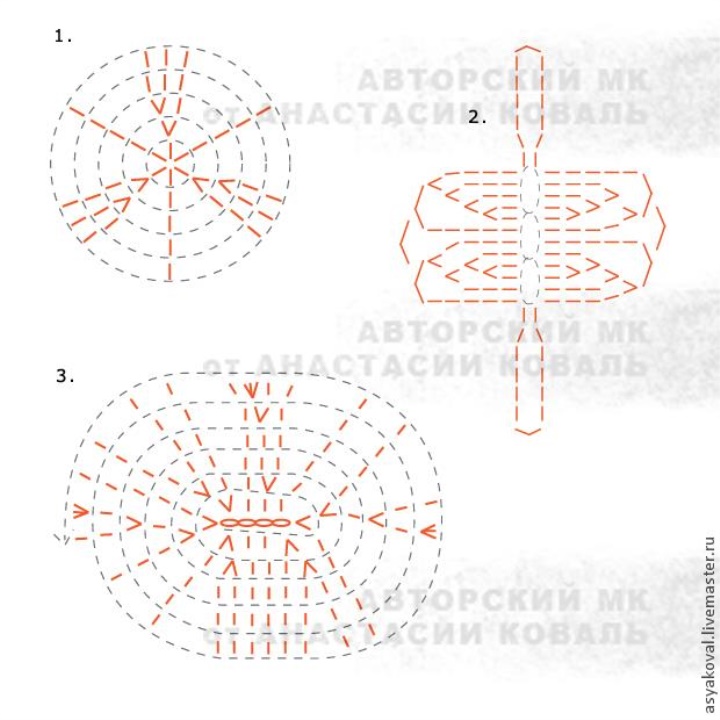
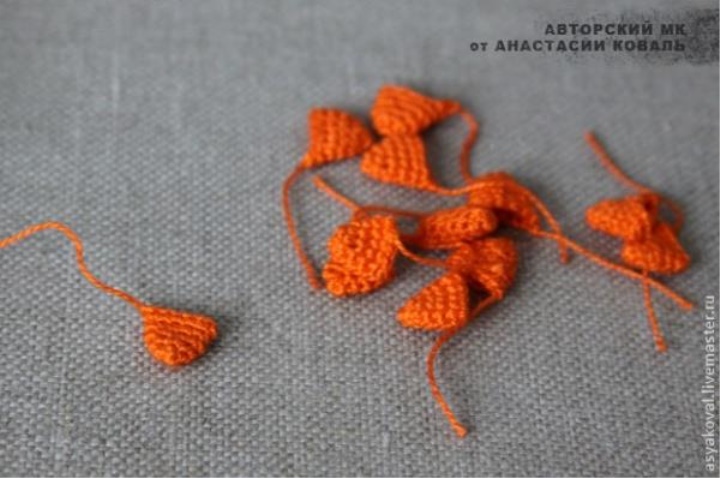
We knit the fingers according to the scheme.
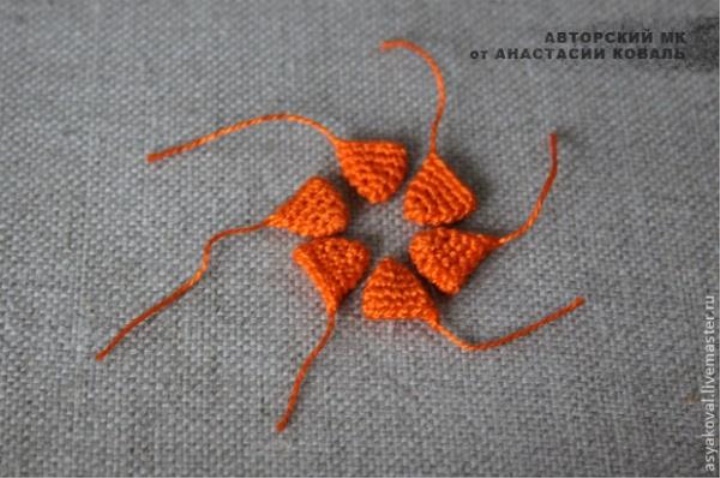
For one penguin, we make 6 pieces. Well, if they decided not to stop at Lolo, then
immediately do 12 things to then to this trifle do not come back.
We unite fingers making 4 connecting posts between them like this:
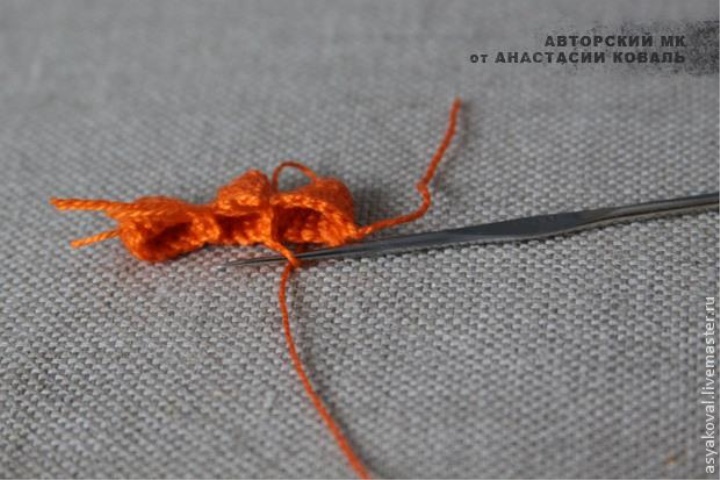
And following the scheme of deductions we continue to knit in a circle until a certain moment when you
it will be convenient to perform the packing.
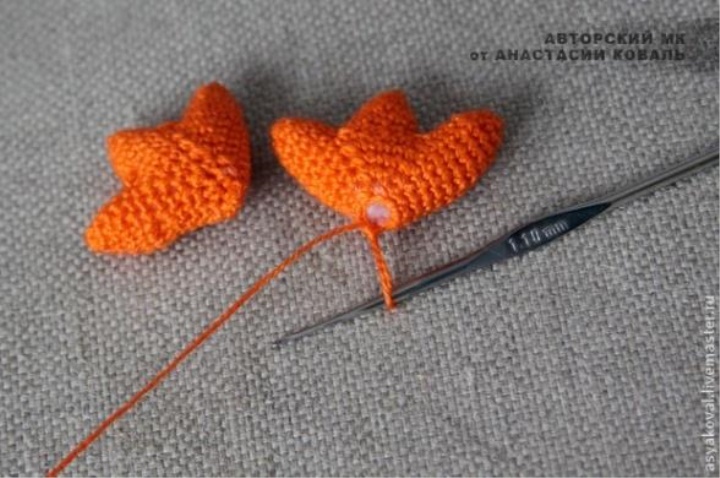
And do not forget about the beak!
Here is a penguin set we got :-D
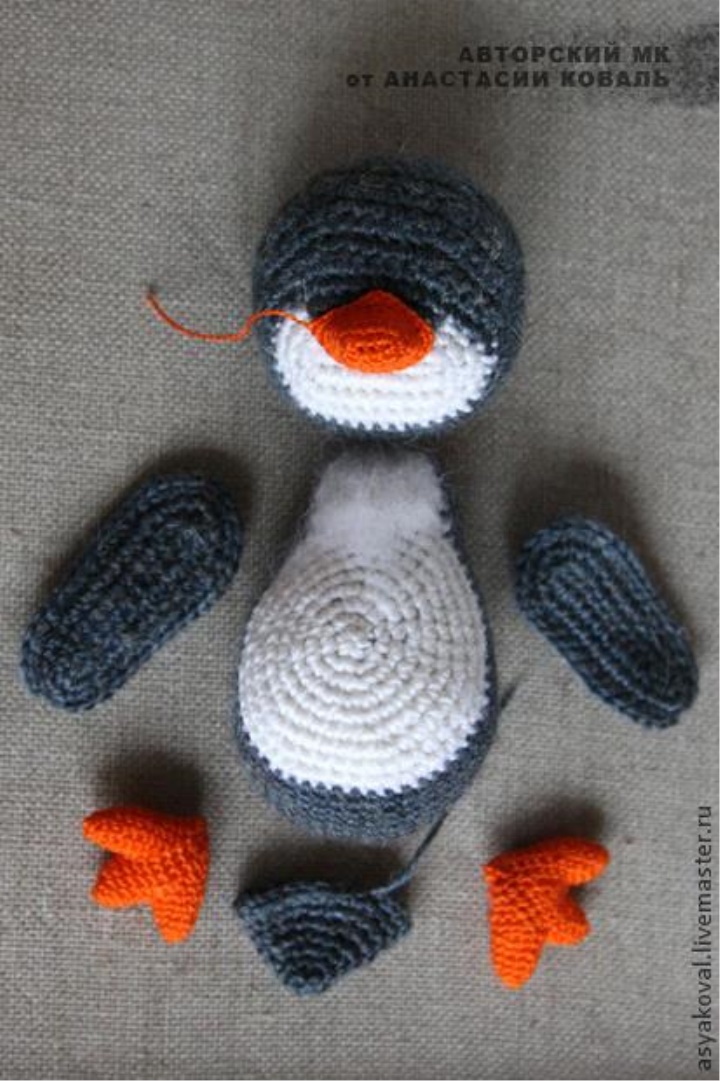
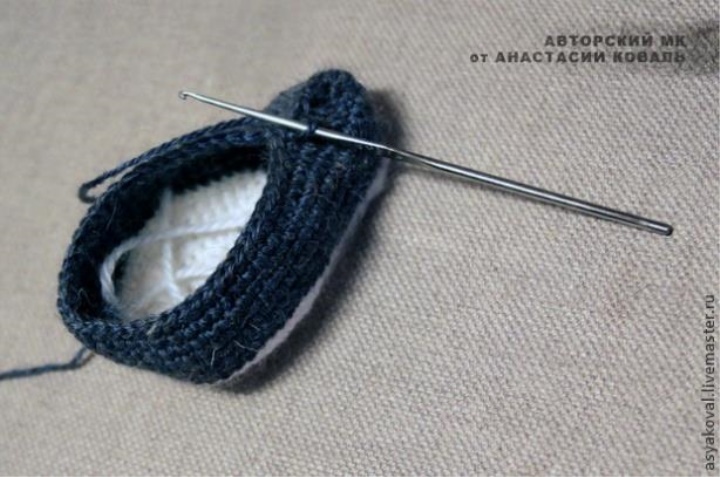
All the details are sewn around the loop in a loop, with stitches over the edge.
We select the thread in the color of the sewn part. That nothing is bent
pre-secure with pins.

And we take out our wall-mounted accessories. We need them for the peephole. If you
managed to pick up good ready-made eyes or build their own eyes independently
way we omit this point.
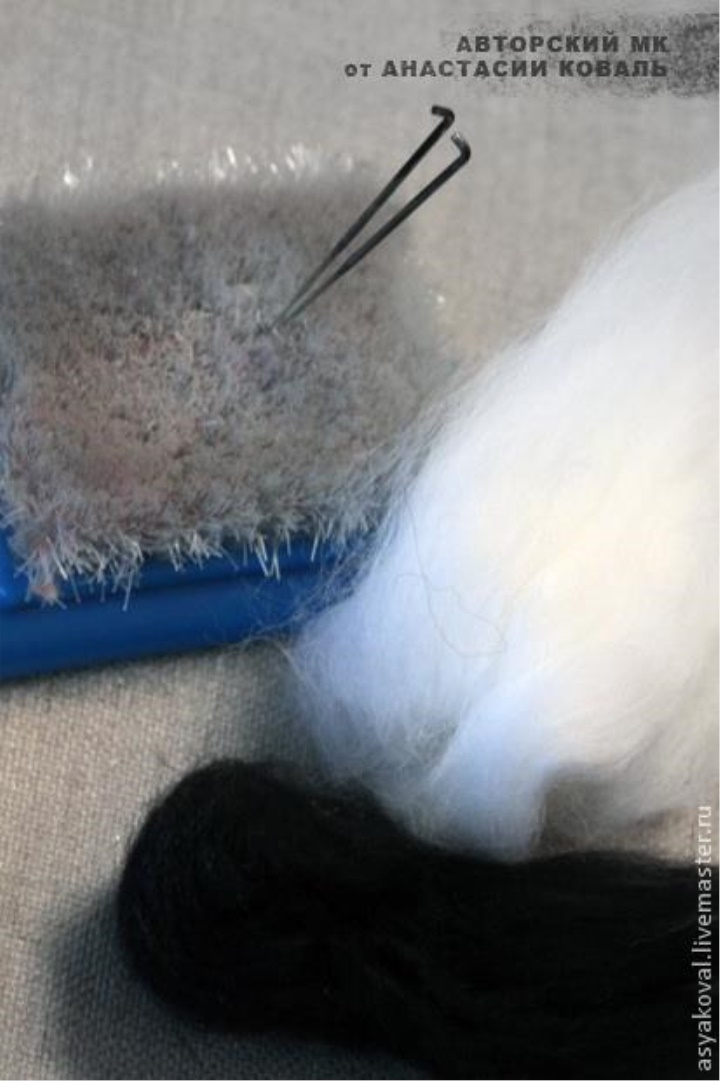
If not, then ... First, lay the white part of the eye on the brush (or sponge) with a working needle,
slightly. Then we put it on the head.
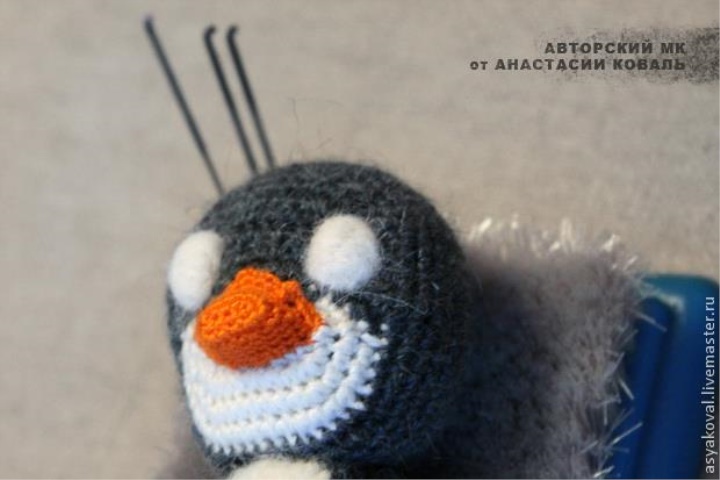
Then we put black pupils and at the end add a white highlight. Align the eyes
the finishing needle.
Volosiki crocheted in the head region and tied on a double and better
triple knot so that the years do not lead Lolo to partial or complete baldness :-D
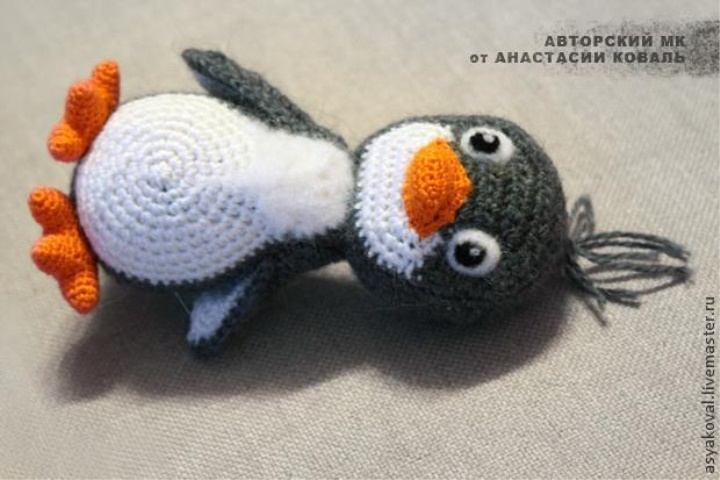
Scissors model the hairstyle to the optimal length.
Done! The case for small - to connect our Lolo to her friend Pepe. Notice that Pepe
the tuft is not on the vertex but so coquettishly sideways. And a spout made of pink Iris, like her
the pink thread itself. In the rest we create everything exactly like her friend.
Creative success to you!
If it is not clear - ask if you liked - write.
If you just wanted to write comments - too, do not hold back! (*)
Source : Master Asya Koval