- understandable and accessible even for beginners.
UB - reduction (two bars, tied together).
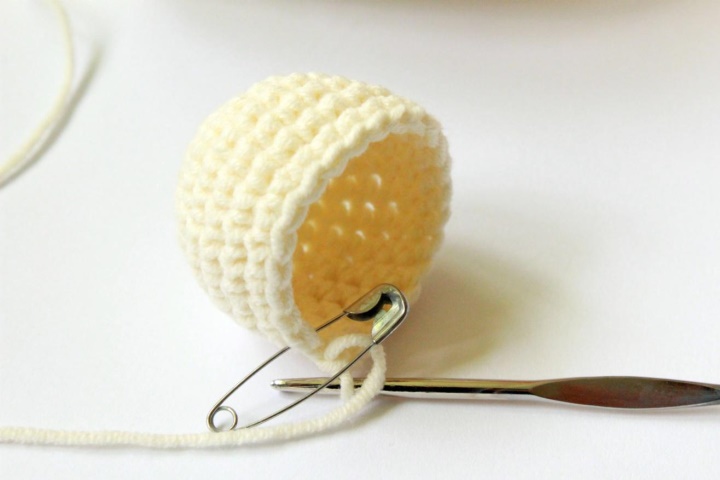
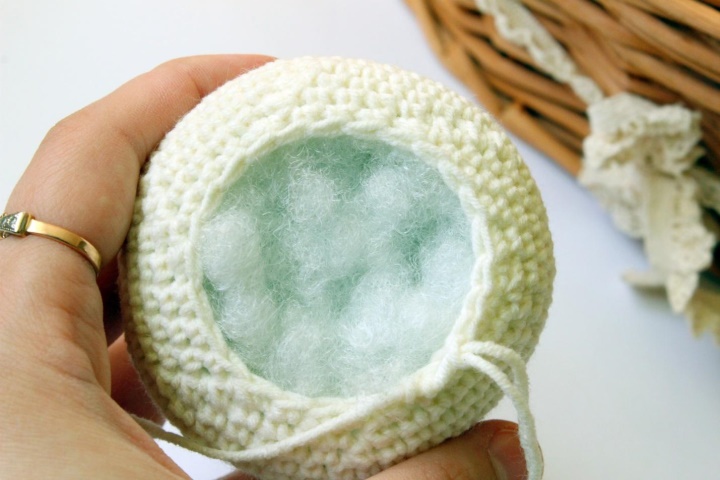
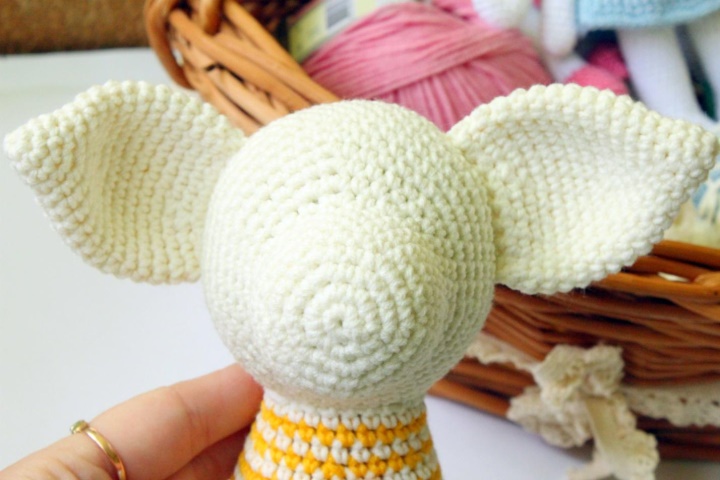
We knit the head with a milky thread. Fill in the course of knitting.
10 ranks: 8 sc (1 sc, prib) х4, 8 сбн (28)
11th row: 13 RLS, 2 RI, 13 RLS (30)
12th row: 4 RLS, PRI (36)
13 series: 5 RLS, PRI (42)
14 ranks: 42 sc
15 series: 6 RLS, PRI (48)
16-20 series: 48 sc
21 ranks: 6 RLS, UB (42)
22 ranks: 5 RLS, UB (36)
23 ranks: 4 RTS, UB (30)
24 series: 3 RTS, UB (24)
25 series: 2 RLS, UB (18)
26 series: 1 RTS, UB (12)
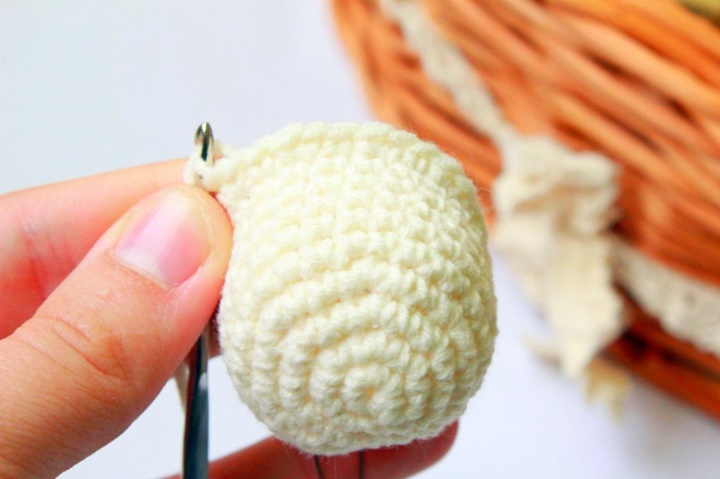
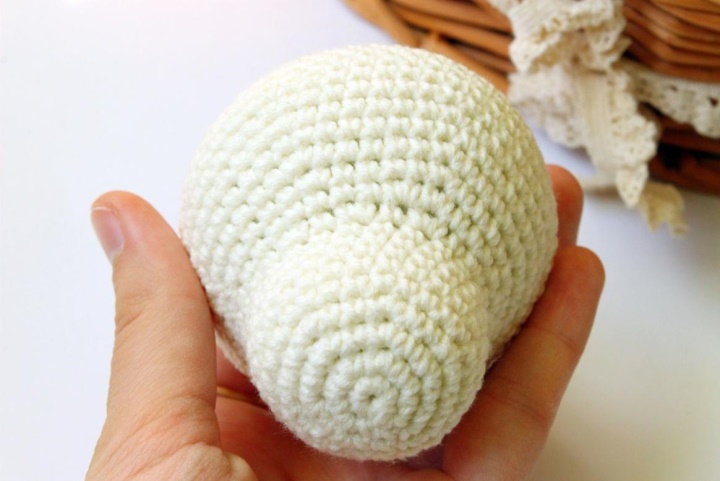
27 row: decrease until the hole is closed.
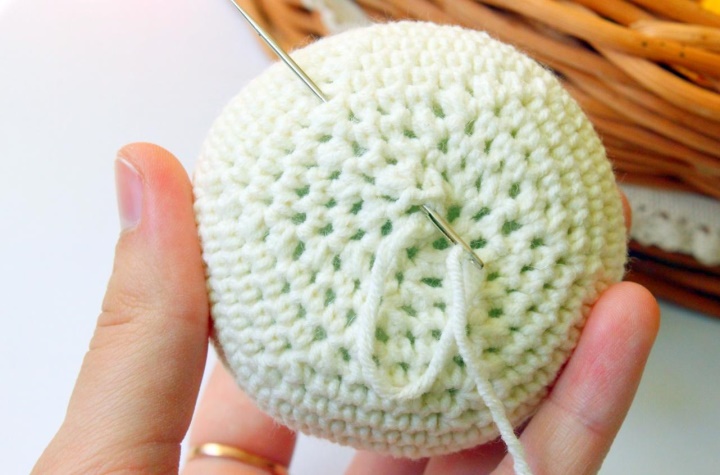
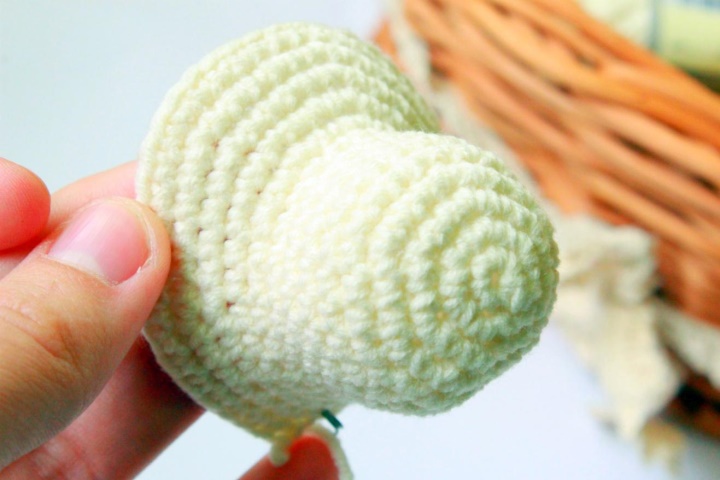
The head is ready!
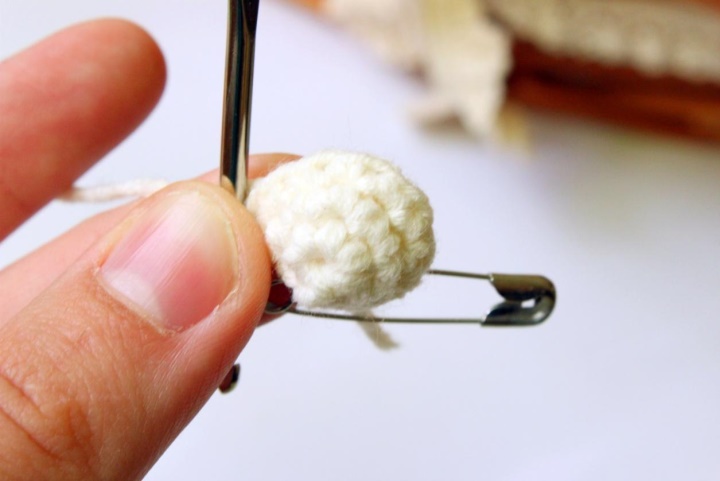
Ears
1st row: 6 RLS in the ring amigurumi
2 ranks: 1 RLS, PRI (9)
3 ranks: 9 sc
4 ranks: 2 RLS, PRI (12)
5 series: 3 RLS, PRI (15)
6th row: 4 RLS, PRI (18)
7th row: 5 RLS, PRI (21)
8th row: 21 sc
9th row: 6 RLS, PRI (24)
10-14 series: 24 sc
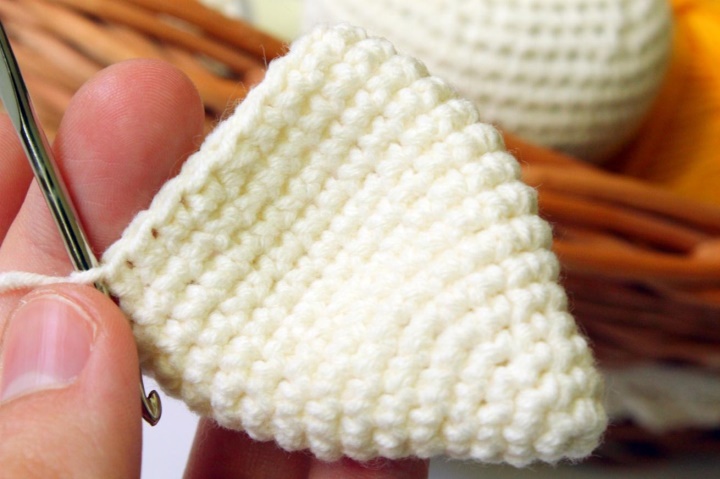
15 series: 6 RLS, UB (21)
16th row: 5 RLS, UB (18)
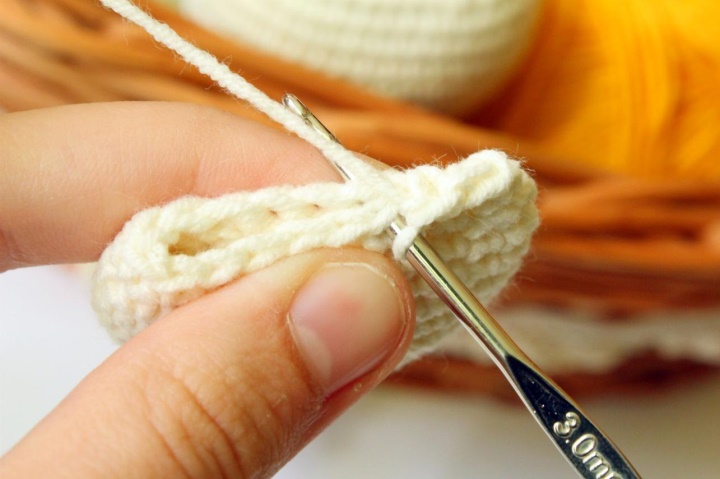
Fold the edges together, we sew 8 RLS. Ears do not need to be stuffed.
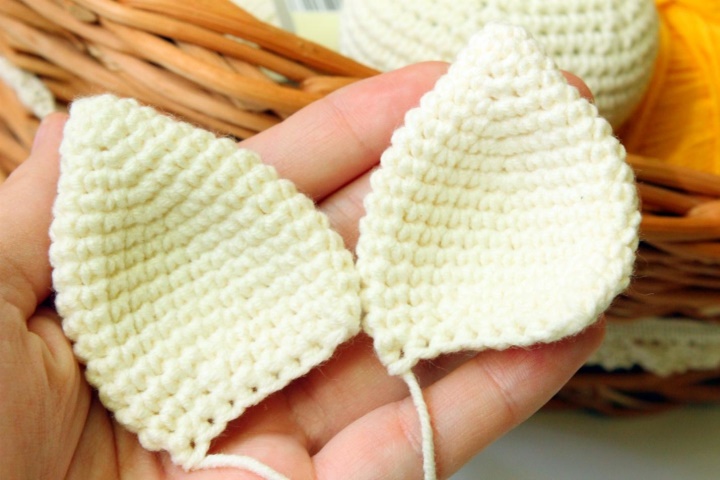
The eye is ready! Thus, we knit two parts.
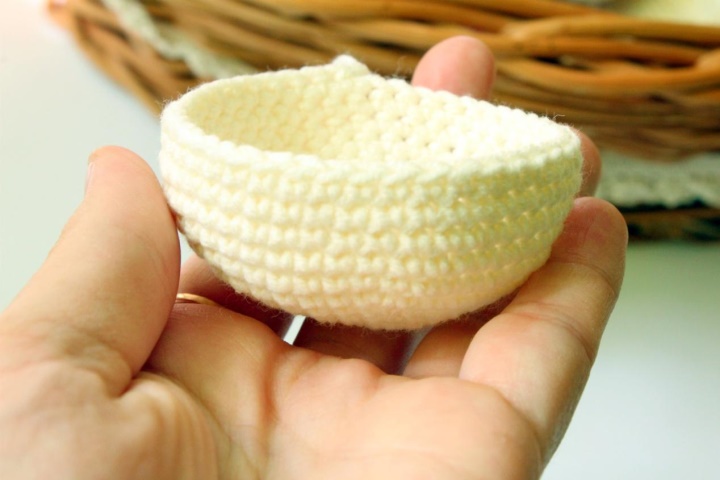
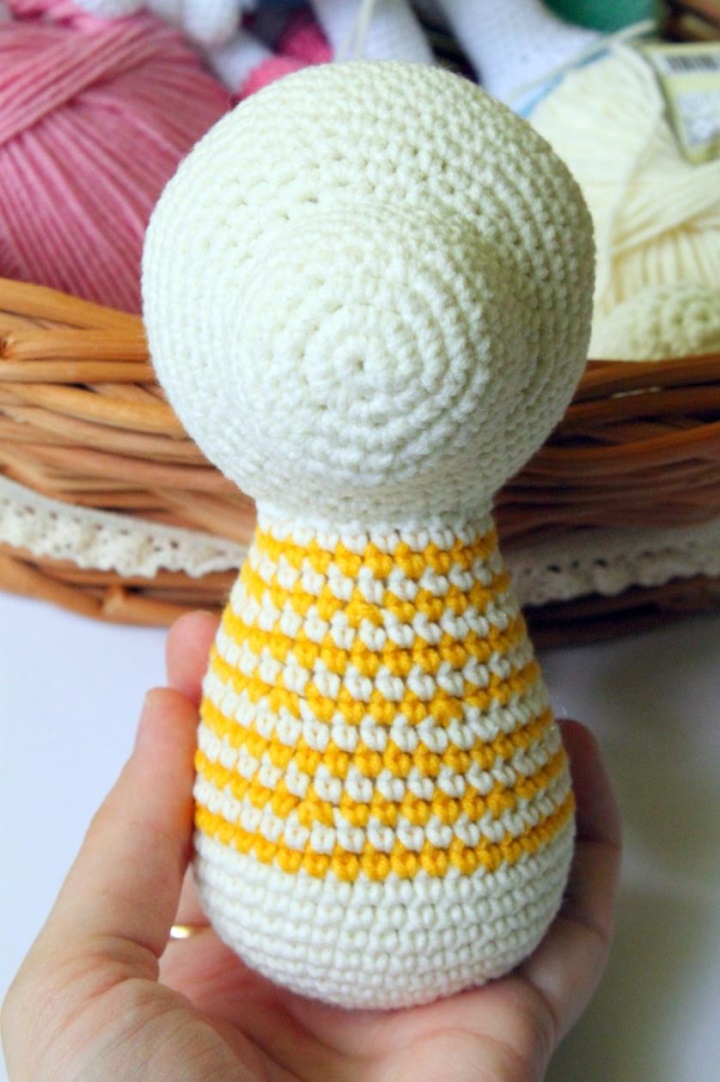
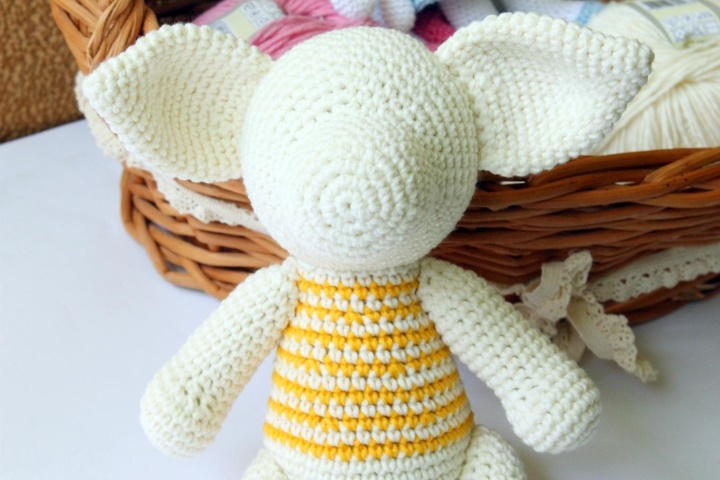
CULTIVATION
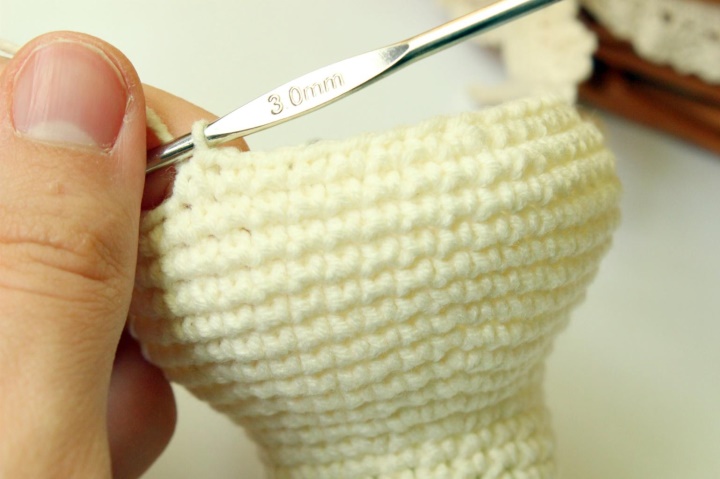
We begin to knit a thread of milky color. We fill in the course of knitting.
1st row: 6 RLS in the ring amigurumi
2 row: 6 PRIB (12)
3 ranks: 1 RLS, PRI (18)
4 ranks: 2 RLS, PRI (24)
5 series: 3 RLS, PRI (30)
6th row: 4 RLS, PRI (36)
7th row: 5 RLS, PRI (42)
8-12 series: 42 sc
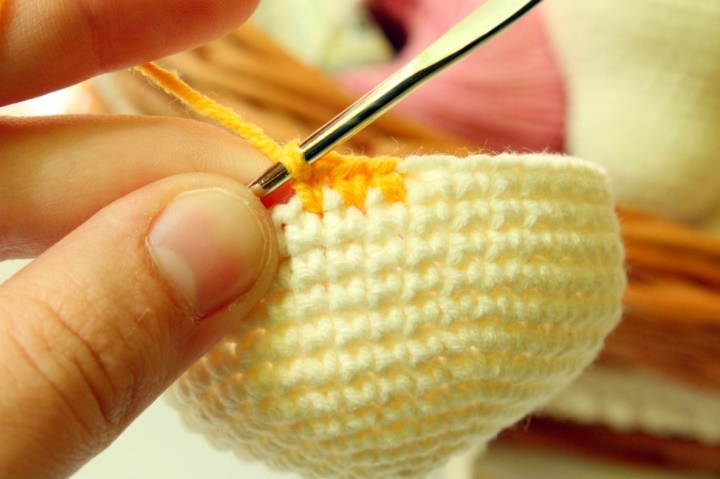
Change the thread color to yellow.
13 ranks: 42 sc
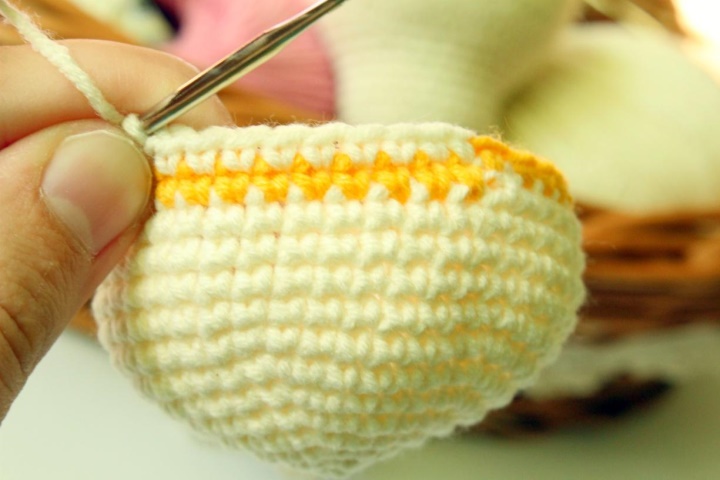
We change the color of the thread to the milk, and so we will alternate the colors of each row.
14 ranks: 42 sc
15 series: 5 RLS, UB (36)
16-18 series: 36 sc
19 series: 4 RTS, UB (30)

20-22 series: 30 sc
23 ranks: 3 RLS, UB (24)
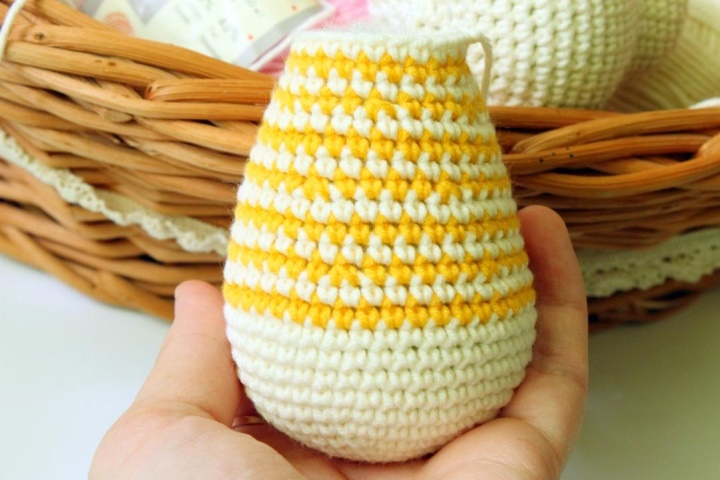
24-26 series: 24 sc. Cut the thread, leaving a long end for stitching.
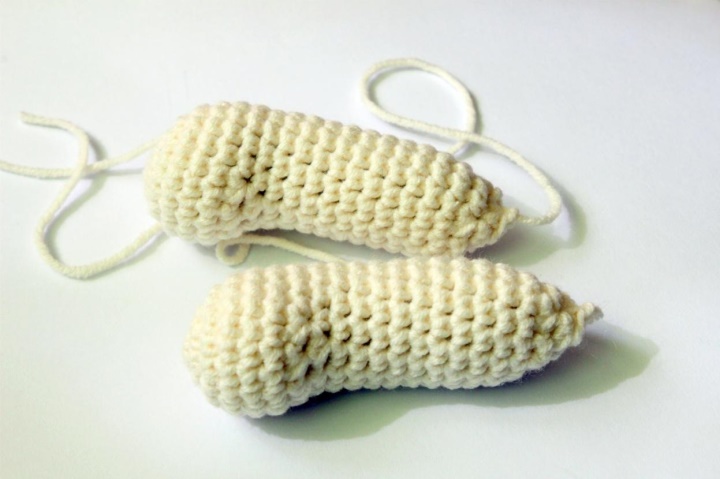
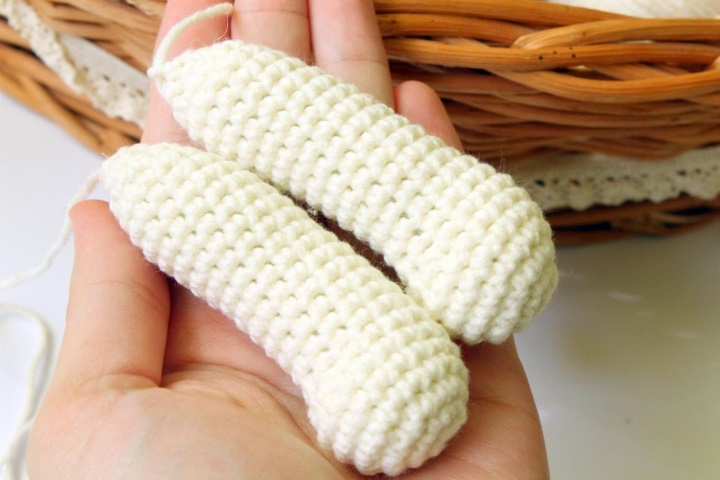
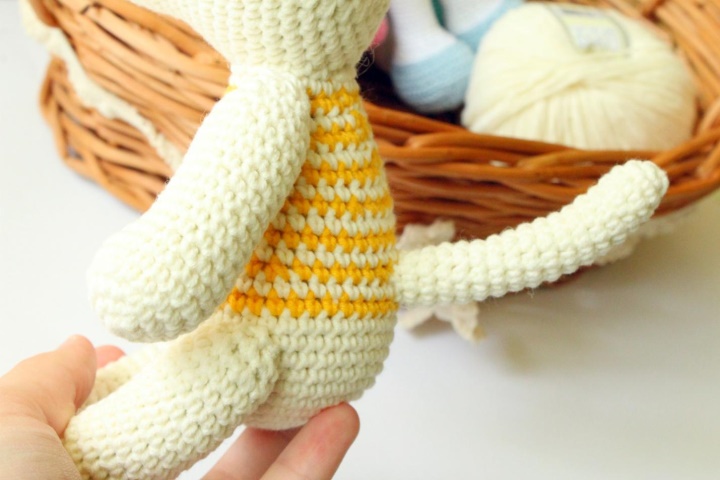
FRONT LEGS
Knit a thread of milky color. We fill in the course of knitting.
1st row: 6 RLS in the ring amigurumi
2 row: 6 PRIB (12)
3 ranks: 1 RLS, PRI (18)
4-6 series: 18 sc
7th row: 6 sc, 3 sc, 6 cms (15)
8 ranks: 7 RTS, 1 UB, 6 RTS (14)
9-18 series: 14 sc
19 series: (1 sc, ub) x4, 2 sc
20 series: decrease before closing the hole. Cut the thread, leaving a long
end for stitching. Thus, we knit two parts.
HIND LEGS
Knit a thread of milky color. We fill in the course of knitting.
1st row: 6 RLS in the ring amigurumi
2 row: 6 PRIB (12)
3 ranks: 1 RLS, PRI (18)
4-6 series: 18 sc
7th row: 6 sc, 3 sc, 6 cms (15)
8 ranks: 7 RTS, 1 UB, 6 RTS (14)
9-21 series: 14 sc
22 series: (1 sc, uh) x4, 2 sc
23 row: decrease until the hole is closed. Cut the thread, leaving
long end for stitching. Thus, we knit two parts.
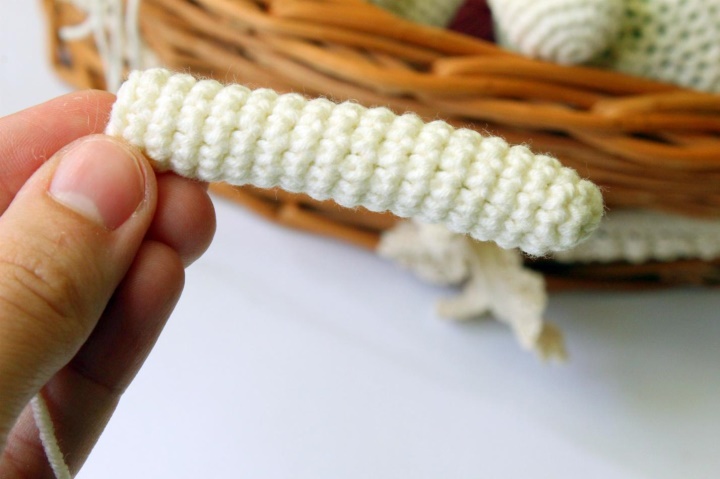
TAIL
Knit a thread of milky color. We fill in the course of knitting.
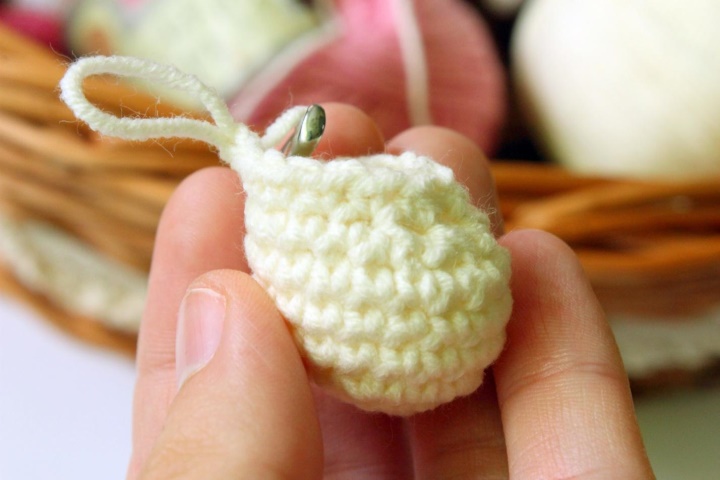
1st row: 6 RLS in the ring amigurumi
2 ranks: 1 RLS, PRI (9)
3-18 series: 9 sc
Cut the thread, leaving a long end for stitching.
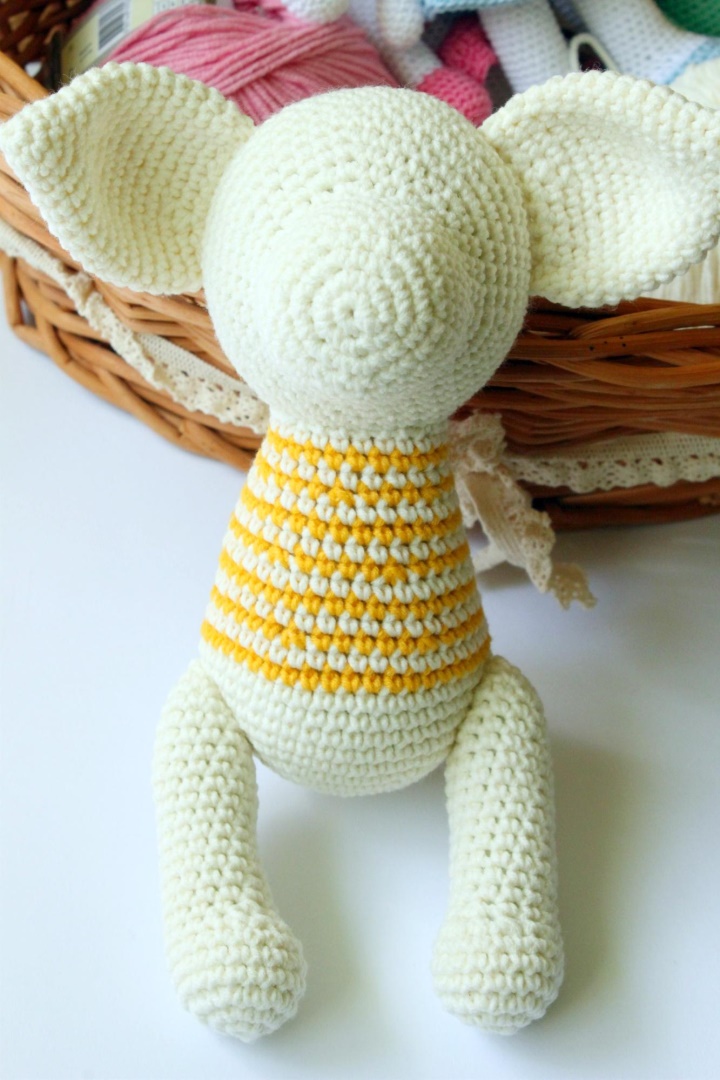
ASSEMBLY AND DESIGN OF TOYS
Sew our head to the trunk.
We sew our ears.
Sew our hind legs.

Sew the front paws.
Sew a tail.
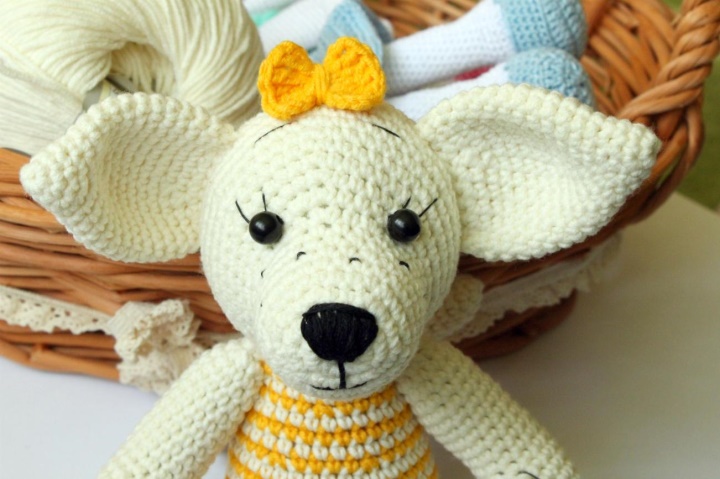
Done! Let's get down to the muzzle design.
We embroider a black mulina with a nose and freckles.
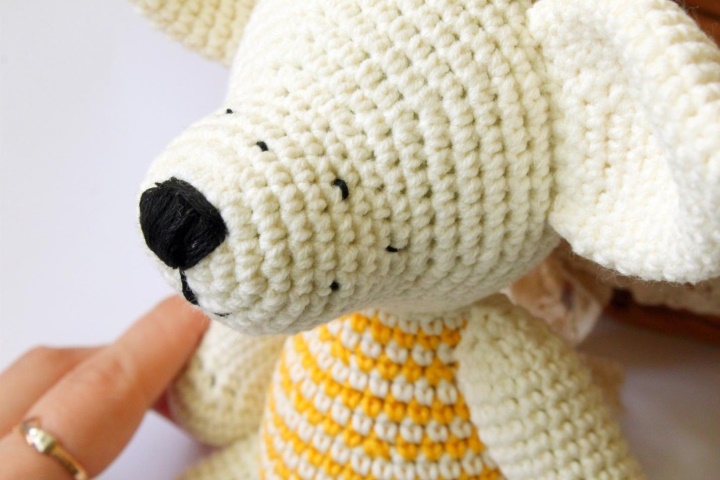
Sew our eyes. We embroider cilia, eyebrows.

We sew a bow with a thread of yellow color.
In the ring amigurumi: 4 VP lift, 5 posts with two capes, 4 VP,
connecting column, 4 VP, 5 columns with two covers, 4 VP,
connection column. Sewing to the head.
We take the necessary length of a strip of fabric, for a skirt. Fold down the bottom,
we process on the sewing machine. Fold and stretch the top so,
so that you can insert the rubber band. Using a safety pin, we insert the rubber band and
Sew the edges together.